Improve The Look And Fell Of Your Home With Lighting
Replacing a light fixture is an excellent way to update a room's aesthetic and brighten up your space. Whether you're looking to modernize an old fixture or simply want a new look, this project is straightforward and can be done in a few hours.
Materials Needed:
- New light fixture
- Screwdriver set (flathead and Phillips)
- Voltage tester
- Wire strippers
- Wire nuts (often included with the new fixture)
- Electrical tape
- Ladder or step stool
- Drop cloth
- Drill (if necessary for mounting)
- Extra screws and anchors (if needed)
Step-by-Step Checklist
- Turn Off Power
- ☐ Locate the circuit breaker for the room where you’ll be working and switch off the power.
- ☐ Double-check that the power is off by flipping the light switch on and off.
- ☐ Use a voltage tester to confirm there is no electrical current running to the fixture.
- Remove the Old Fixture
- ☐ Place a drop cloth on the floor to catch any debris.
- ☐ Use a screwdriver to remove the screws or nuts holding the old fixture in place.
- ☐ Carefully lower the fixture and disconnect the wires by untwisting the wire nuts.
- ☐ Note the color and location of each wire (black or red for hot, white for neutral, and green or bare for ground).
- Prepare the New Fixture
- ☐ Read the manufacturer’s instructions for the new fixture thoroughly.
- ☐ Assemble any parts of the new fixture as needed before installation.
- ☐ If the mounting bracket for the new fixture is different, install the new bracket using the screws provided.
- Connect the Wires
- ☐ Connect the ground wire (green or bare) from the fixture to the ground wire from the electrical box. Use a wire nut to secure.
- ☐ Connect the neutral wire (white) from the fixture to the neutral wire from the electrical box, securing with a wire nut.
- ☐ Connect the hot wire (black or red) from the fixture to the hot wire from the electrical box. Secure with a wire nut.
- ☐ Wrap each wire connection with electrical tape for added security.
- Mount the New Fixture
- ☐ Carefully tuck the wires into the electrical box.
- ☐ Align the fixture with the mounting bracket and secure it in place with screws or nuts.
- ☐ Make sure the fixture is level before tightening all screws.
- ☐ Attach any decorative parts or shades as needed.
- Test the New Fixture
- ☐ Turn the power back on at the circuit breaker.
- ☐ Flip the light switch to test that the fixture is working correctly.
- ☐ If the light does not turn on, double-check the wiring connections and ensure the bulbs are installed correctly.
- Final Touches
- ☐ Adjust the fixture’s position if necessary to ensure it is centered and level.
- ☐ Clean the fixture with a soft cloth to remove any fingerprints or dust.
- ☐ Dispose of the old fixture and packaging materials appropriately.
Tips for Success:
- Safety First: Always confirm the power is off before starting work. Use a voltage tester even if you’ve turned off the circuit breaker.
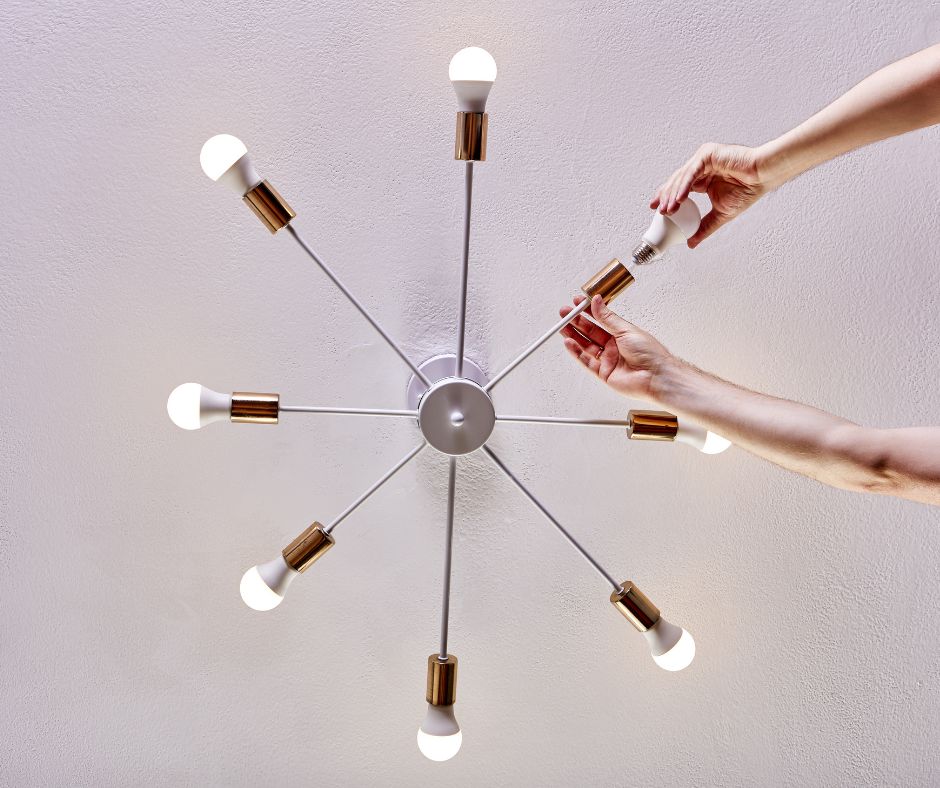
- Use the Right Bulbs: Make sure to use the correct wattage bulbs for your new fixture. Using bulbs with too high a wattage can be a fire hazard.
- Anchor Points: If the new fixture is heavier than the old one, ensure the electrical box is securely attached to a stud or ceiling joist. You may need to install additional support.
- Work with a Partner: For larger or heavier fixtures, having a second person to help hold the fixture in place while you connect the wires can make the job much easier.
- Plan for Style: When choosing a new fixture, consider the overall style and color scheme of the room to ensure the fixture complements the space.
Replacing a light fixture is a manageable DIY project that can instantly brighten up a room and add a modern touch to your home. With these steps, you'll achieve a professional-looking result that enhances both the function and appearance of your space.