How To Make Your Real Hardwood Gleam
Refinishing hardwood floors can breathe new life into your home's interior. Here's a step-by-step guide on how to refinish hardwood floors.
Tools and Materials You'll Need:
- Safety gear: Dust mask, safety goggles, and ear protection
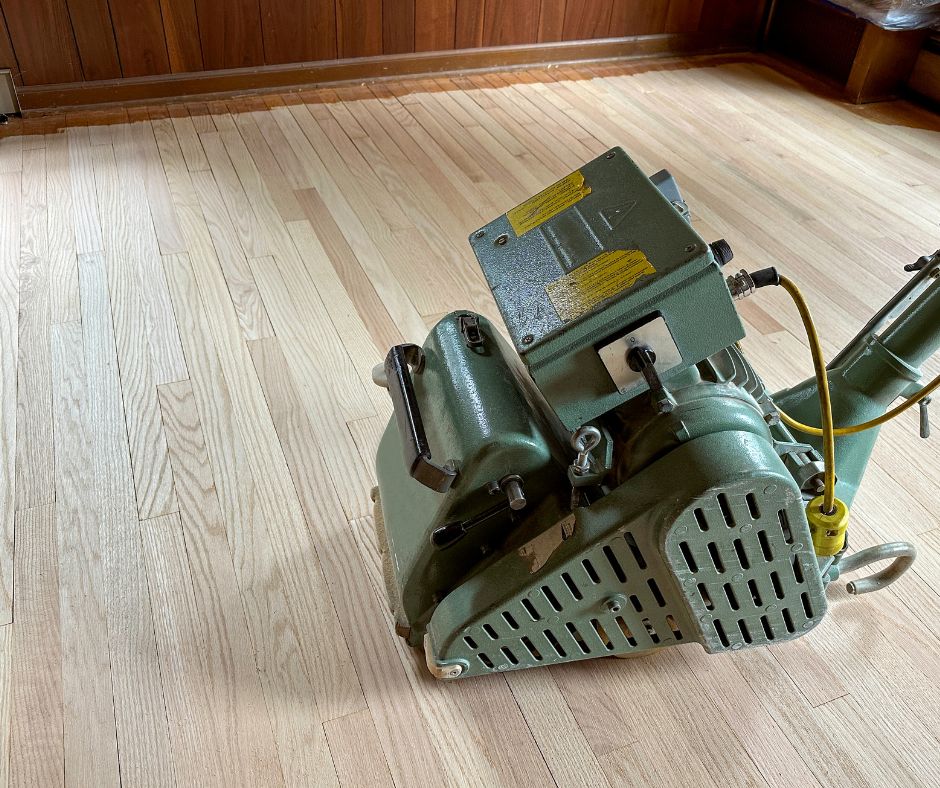
- Floor sander (drum or orbital)
- Edger sander (for edges and corners)
- Sanding screens or sandpaper (multiple grits)
- Vacuum cleaner
- Tack cloth
- Wood filler (for gaps and nail holes)
- Floor stain (if desired)
- Floor finish (polyurethane or water-based)
- Paintbrush or applicator pad for finish
- Floor buffer (optional)
- Belt sander (for extreme cases, if needed)
- Extension cords
- Plastic sheeting or drop cloths
- Painter's tape
- Putty knife
- Hammer and nails (for loose boards)
- Respirator mask (for fumes, if using oil-based finish)
- Rags or paper towels (for applying stain and finish)
Step-by-Step Instructions:
1. Prepare the Room:
- Remove all furniture, rugs, and items from the room. Seal off the room from the rest of the house with plastic sheeting or drop cloths to prevent dust from spreading.
2. Safety Gear:
- Put on your safety gear, including a dust mask, safety goggles, and ear protection. Sanding generates a lot of dust and noise.
3. Inspect and Repair:
- Inspect the hardwood floor for loose boards, gaps, or protruding nails. Use a hammer and nails to secure any loose boards. Fill gaps and nail holes with wood filler and allow it to dry.
4. Sanding:
- Start with a rough-grit sandpaper (usually 36 or 40 grit) on a floor sander to remove the old finish and surface imperfections. Always move the sander in the direction of the wood grain.
- Use an edger sander to sand along the edges and corners where the large sander can't reach.
- Gradually work your way up to finer grits (80, 120, and 220) with both the floor and edger sanders to achieve a smooth surface. Vacuum and tack cloth the floor between each sanding to remove dust.
5. Clean the Surface:
- Vacuum the floor to remove all dust particles. Use a tack cloth to wipe down the floor for a final cleaning.
6. Apply Stain (Optional):
- If you want to change the color of the wood, apply wood stain using a rag or applicator pad, following the manufacturer's instructions. Allow it to dry thoroughly.
7. Apply Finish:
- Apply a clear polyurethane or water-based floor finish using a paintbrush or applicator pad. Work in small sections, keeping a wet edge to avoid lap marks. Allow the first coat to dry completely (usually 24 hours), and lightly sand it with fine-grit sandpaper (220 grit) to smooth any imperfections.
- Apply a second coat of finish and let it dry. You can apply additional coats as needed, typically 2-3 coats for polyurethane or more for water-based finishes.
- If desired, use a floor buffer with a fine-grit sanding screen between coats to achieve an ultra-smooth finish.
8. Allow for Drying Time:
- Allow the final coat to dry for several days before placing furniture back in the room.
9. Remove Plastic Sheeting:
- Carefully remove the plastic sheeting, being mindful of any dust that may have settled on other surfaces in your home.
10. Reinstall Trim and Baseboards: – If you removed any trim or baseboards, reinstall them.
11. Replace Furniture and Rugs: – Once the finish has dried and cured (usually about a week), you can safely replace furniture and rugs.
Refinishing hardwood floors can be a labor-intensive project, but it can significantly enhance the appearance and value of your home. It's essential to follow safety precautions and take your time to achieve the best results. If you're unsure about any step or have concerns about the condition of your floors, consider consulting a professional hardwood floor refinishing service.
Tips
Refinishing hardwood floors can be a challenging task, but these tips can help make the process easier and more efficient:
1. Properly Prepare the Room:
- Remove all furniture, rugs, and items from the room to create a clear workspace. Cover any remaining items with plastic sheeting or drop cloths to protect them from dust and debris.
2. Invest in Quality Tools:
- Rent or purchase high-quality sanders, such as a drum or orbital floor sander, and an edger sander. Quality tools can make the sanding process smoother and more effective.
3. Start with Coarse Grit Sandpaper:
- Begin sanding with a coarse-grit sandpaper (e.g., 36 or 40 grit) to remove the old finish and imperfections faster. Gradually progress to finer grits for a smoother finish.
4. Sand Efficiently:
- Sand in the direction of the wood grain to avoid scratches and swirl marks. Overlap each pass by about half to prevent uneven sanding.
5. Use an Edger Sander for Edges and Corners:
- An edger sander is designed for sanding close to walls and in corners where a large sander cannot reach. It helps ensure uniformity in your floor's appearance.
6. Vacuum and Tack Cloth Between Sandings:
- Vacuum the floor thoroughly after each sanding pass to remove dust and debris. Follow up with a tack cloth to pick up any remaining particles.
7. Sand the Edges After Main Sanding:
- After you've completed the main sanding with the floor sander, use the edger sander around the edges and corners. This provides a consistent finish throughout the floor.
8. Apply Stain Carefully (if desired):
- If applying stain, work in small sections and wipe off excess stain promptly. Test a small, inconspicuous area first to ensure you achieve the desired color.
9. Use Water-Based Finish for Faster Drying:
- Water-based finishes dry faster than oil-based ones, which can significantly reduce the time you need to wait between coats.
10. Apply Thin, Even Coats of Finish: – Apply the finish in thin, even coats to avoid drips and bubbles. Keep a wet edge while applying to prevent lap marks.
11. Sand Between Coats (Optional): – For an ultra-smooth finish, you can lightly sand between coats of finish using a fine-grit sanding screen. This helps achieve a more polished appearance.
12. Ventilate the Area: – Ensure proper ventilation during the finishing process to disperse fumes. You may also want to wear a respirator mask, especially if using oil-based finishes.
13. Plan Your Exit Strategy: – Start applying finish near the exit of the room, so you don't trap yourself in a corner or against a wall.
14. Allow Ample Drying Time: – Be patient and allow each coat of finish to dry thoroughly before walking on or placing furniture in the room. Follow the manufacturer's recommended drying times.
15. Protect Your Knees and Back: – Consider using knee pads and taking regular breaks to protect your knees and back during the sanding and finishing process.
16. Seek Professional Help if Needed: – If you're uncertain about any aspect of the refinishing process, or if your floors are in poor condition, it may be worth hiring a professional refinishing service.
By following these tips and being meticulous in your approach, you can achieve a beautiful and long-lasting finish when refinishing your hardwood floors while making the process more manageable.