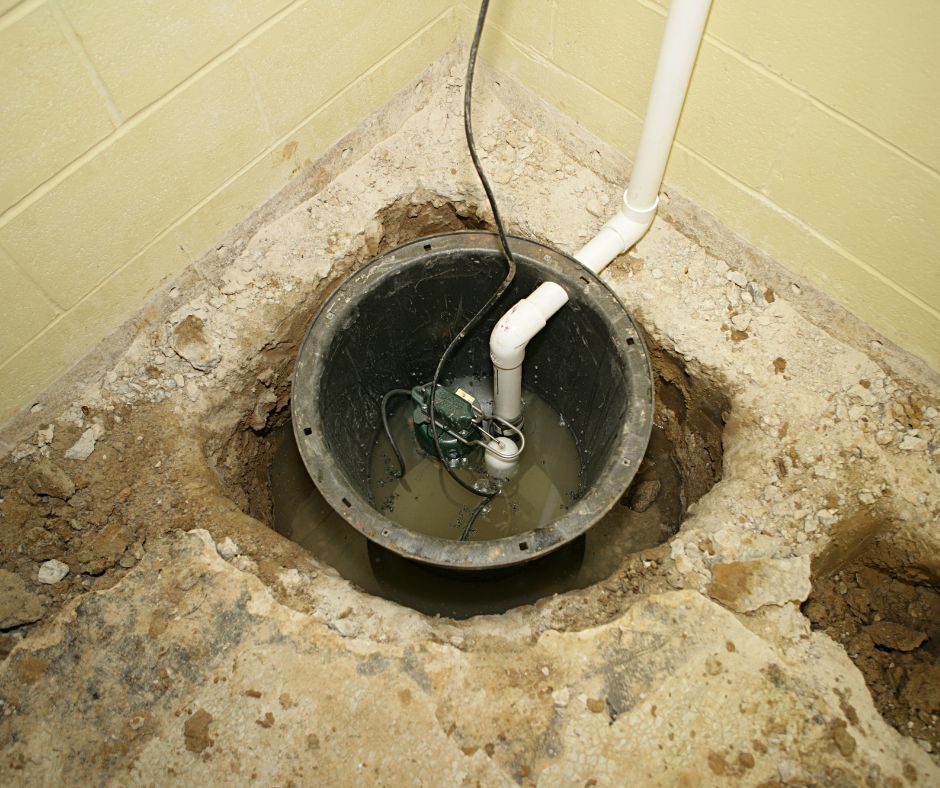
How To Change Your Sump Pump
Changing a sump pump is a task that might be necessary if your current sump pump is old, damaged, or no longer functioning correctly. Here's a step-by-step guide on how to replace a sump pump.
Tools and Materials You'll Need:
- New sump pump: Purchase a sump pump that matches your needs and the size of your sump pit.
- Wrenches: For removing and installing plumbing connections.
- Screwdriver: To remove screws and bolts.
- PVC pipe and fittings: If you need to replace any sections of the discharge pipe.
- Pipe cement: For sealing PVC pipe connections.
- Teflon tape: For sealing threaded connections.
- Utility knife: For cutting pipe or fittings if necessary.
- Bucket and towels: To catch any water that may spill during the process.
Step-by-Step Instructions:
1. Safety First:
- Turn off the electricity to the sump pump at the circuit breaker to ensure your safety while working.
2. Remove the Old Sump Pump:
- Disconnect the sump pump from the discharge pipe by loosening any clamps or connectors.
- Disconnect the power cord from the electrical outlet.
- Lift the old sump pump out of the sump pit and remove it from the pit.
3. Inspect the Sump Pit:
- Take this opportunity to clean and inspect the sump pit for debris. Make sure there are no obstructions or clogs.
4. Prepare the New Sump Pump:
- Read the manufacturer's instructions for your new sump pump to understand the installation process.
- Attach any necessary fittings to the new sump pump according to the instructions.
5. Connect the Discharge Pipe:
- Reattach the discharge pipe to the new sump pump using appropriate clamps, connectors, or fittings.
- Use Teflon tape on threaded connections to ensure a watertight seal.
6. Lower the New Sump Pump:
- Carefully place the new sump pump into the sump pit.
- Ensure it is positioned properly and level.
7. Connect the Power Cord:
- Plug the power cord of the new sump pump into the electrical outlet.
8. Test the Sump Pump:
- Pour water into the sump pit to test the new pump. It should activate and pump out the water.
- Monitor the pump for a complete cycle to ensure it's working correctly.
9. Recheck the Discharge Pipe:
- Inspect the discharge pipe and connections for any signs of leaks. Make necessary adjustments if needed.
10. Secure the Sump Pump: – If the new sump pump has brackets or straps for securing it in place, use these to prevent movement.
11. Restore Power: – Turn the electricity to the sump pump back on at the circuit breaker.
12. Regular Maintenance: – Make a note to perform regular maintenance on your new sump pump as recommended by the manufacturer. This may include cleaning the pit, checking for debris, and testing the pump.
13. Dispose of the Old Pump: – Properly dispose of the old sump pump according to local regulations.
Replacing a sump pump is a manageable DIY task for many homeowners. However, if you are uncomfortable with electrical work or plumbing, or if you encounter any issues during the installation, it's advisable to consult a professional plumber or electrician for assistance. A functioning sump pump is crucial to prevent basement flooding, so regular maintenance and prompt replacement when necessary are essential.