How To Fix A Leaking Showerhead
Fixing a leaky showerhead is a common plumbing task that you can often tackle on your own. Here's how to do it.
Tools and Materials You'll Need:
- Adjustable wrench or pliers
- Replacement parts (if needed)
Step-by-Step Instructions:
1. Turn Off the Water Supply:
- Locate the water supply valve for your shower and turn it off. This is usually located in or near the bathroom, but in some cases, it may be in the basement or another utility area. If you can't find a specific valve for the shower, you may need to turn off the main water supply to your home.
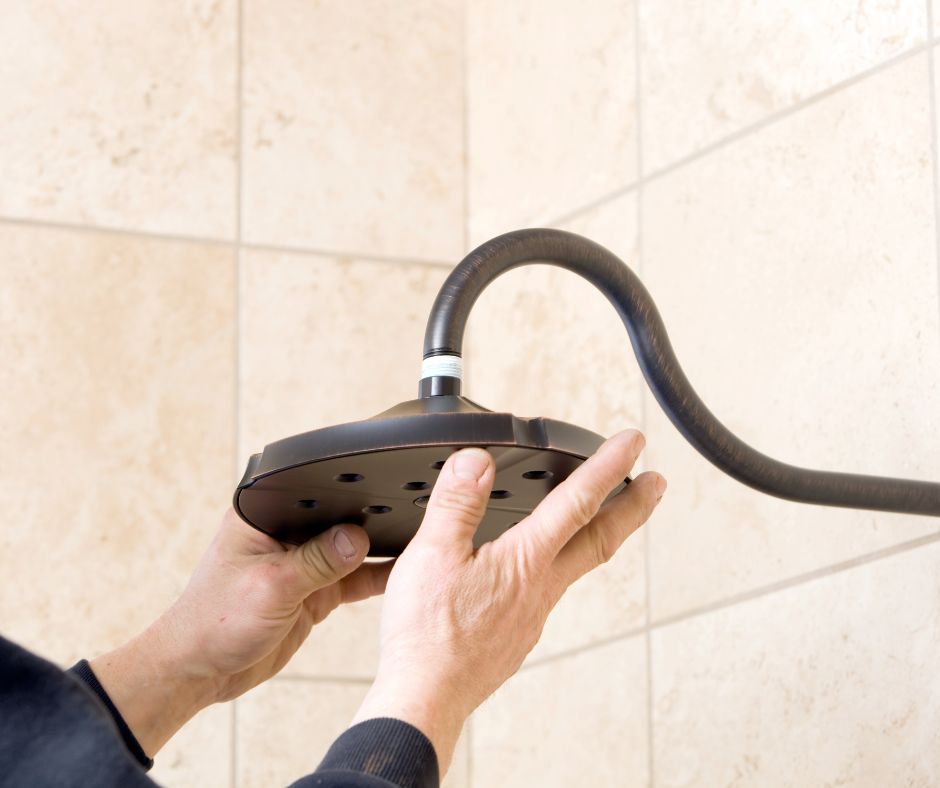
2. Remove the Showerhead:
- Use an adjustable wrench or pliers to grip the showerhead where it connects to the shower arm. Turn it counterclockwise to unscrew it. Be cautious not to damage the shower arm during this process.
3. Inspect the Showerhead:
- Examine the showerhead for any visible damage or worn-out parts, such as a damaged O-ring, washer, or rubber gasket. If you see any issues, replace the faulty parts.
4. Clean the Threads:
- Inspect the threads on the shower arm and inside the showerhead for debris, old plumber's tape, or mineral buildup. Use a wire brush or an old toothbrush to clean these threads thoroughly.
5. Apply New Plumber's Tape (Teflon Tape):
- Wrap a few layers of plumber's tape (Teflon tape) clockwise around the threads on the shower arm. This helps create a watertight seal when you reattach the showerhead.
6. Reattach the Showerhead:
- Screw the showerhead back onto the shower arm. Use your adjustable wrench or pliers to tighten it snugly but not overly tight, as this could damage the threads.
7. Turn On the Water Supply:
- Turn the water supply back on, either at the dedicated shower valve or the main water supply. Slowly turn it on to check for leaks.
8. Test the Showerhead:
- Turn on the shower and check for any leaks around the showerhead connection. If you still notice leaks, gently tighten the showerhead a little more until the leaks stop.
9. Monitor for Leaks:
- Keep an eye on the showerhead over the next few days to ensure there are no additional leaks. If leaks persist or worsen, consider replacing any damaged parts or contacting a plumber for further inspection.
In most cases, fixing a leaky showerhead is a straightforward task that doesn't require professional plumbing assistance. However, if you encounter complications or the leak persists after following these steps, it's a good idea to consult a plumber to identify and resolve the issue.