Outlet Replacements Can Improve The Safety of Your Home
Replacing old or damaged electrical outlets is a practical upgrade that can improve the safety and functionality of your home. Whether you're swapping out an old outlet for a new one or upgrading to a USB or GFCI outlet, this task is relatively simple and can be done in about 15-30 minutes per outlet.
Materials Needed:
- New outlet (standard, USB, GFCI, etc.)
- Screwdriver set (flathead and Phillips)
- Voltage tester
- Needle-nose pliers
- Wire strippers
- Electrical tape
- Wire nuts (if needed)
- Outlet cover plate
- Ladder or step stool (if needed)
- Drop cloth
Step-by-Step Checklist
- Turn Off Power
- ☐ Locate the circuit breaker for the room where the outlet is located and turn it off.
- ☐ Test the outlet by plugging in a lamp or using a voltage tester to ensure the power is off.
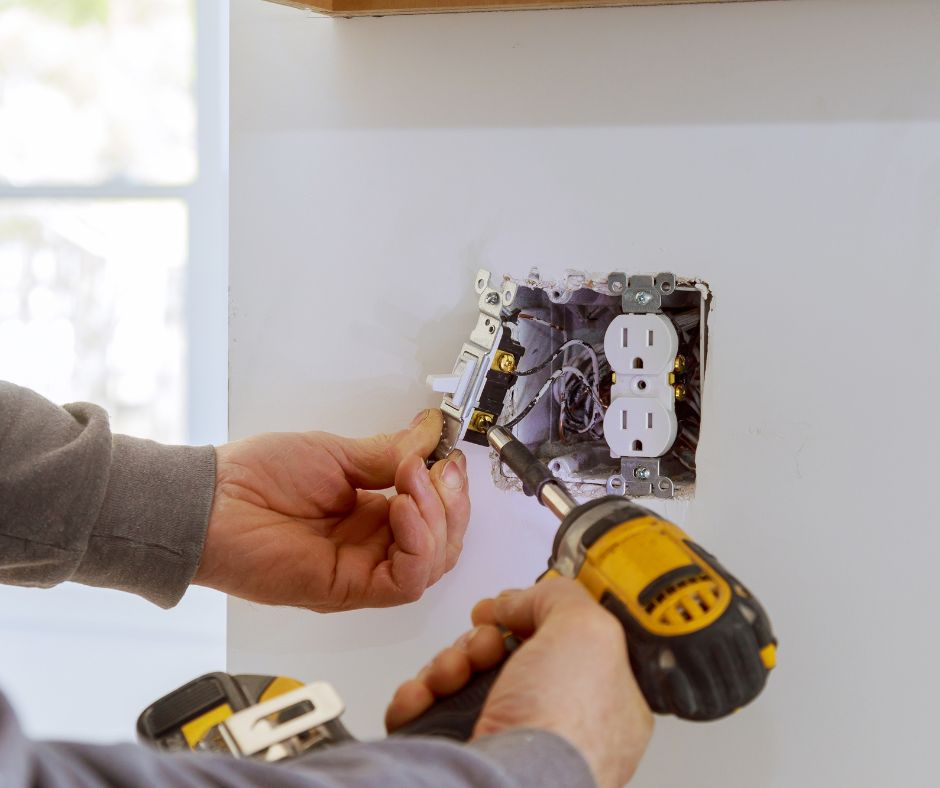
- Remove the Old Outlet
- ☐ Unscrew the outlet cover plate using a flathead screwdriver and set it aside.
- ☐ Use a Phillips screwdriver to remove the screws securing the outlet to the electrical box.
- ☐ Carefully pull the outlet out of the box, keeping the wires attached.
- ☐ Use the voltage tester again to confirm there is no electricity running to the wires.
- Disconnect the Wires
- ☐ Take note of how the wires are connected to the old outlet (black or red for hot, white for neutral, and green or bare for ground).
- ☐ Use needle-nose pliers or a screwdriver to loosen the terminal screws and disconnect the wires from the old outlet.
- ☐ Inspect the wires for any damage; trim and strip the ends if necessary.
- Prepare the New Outlet
- ☐ Compare the new outlet to the old one to ensure it is the correct type and fits in the electrical box.
- ☐ If the wires need to be looped around terminal screws, use needle-nose pliers to create a small loop at the end of each wire.
- Connect the Wires to the New Outlet
- ☐ Connect the ground wire (green or bare) to the green terminal screw on the outlet.
- ☐ Connect the neutral wire (white) to the silver terminal screw on the outlet.
- ☐ Connect the hot wire (black or red) to the brass terminal screw on the outlet.
- ☐ Tighten all screws securely, ensuring the wires are snug and secure.
- ☐ If your outlet has a “push-in” option, ensure the wires are firmly inserted and cannot be easily pulled out.
- Install the New Outlet
- ☐ Carefully push the wires back into the electrical box, making sure they are not pinched or crimped.
- ☐ Align the outlet with the box and secure it with the screws provided.
- ☐ Install the new outlet cover plate and screw it into place.
- Test the New Outlet
- ☐ Turn the power back on at the circuit breaker.
- ☐ Test the outlet with a lamp, appliance, or voltage tester to ensure it is working correctly.
- ☐ If installing a GFCI outlet, press the "Test" and "Reset" buttons to ensure proper operation.
- Final Touches
- ☐ Make sure the outlet is level and properly aligned with the wall.
- ☐ Clean the area to remove any dust or debris from the installation process.
- ☐ Dispose of the old outlet and any leftover materials safely.
Tips for Success:
- Match the Outlet Type: Ensure the new outlet is the same type as the old one, or if you're upgrading to GFCI or USB outlets, verify they are compatible with your electrical system.
- Double-Check Connections: Loose connections can cause outlets to malfunction or create a fire hazard. Make sure all wires are securely connected and that the screws are tight.
- Use GFCI Outlets in Wet Areas: For kitchens, bathrooms, and outdoor areas, replace standard outlets with Ground Fault Circuit Interrupter (GFCI) outlets to protect against electrical shock.
- Handle Wires with Care: If the wiring is old or brittle, handle it gently to avoid damaging the insulation. If you're unsure about the condition of the wiring, consult a professional electrician.
- Work Safely: Always make sure the power is off before starting work, and never assume that an outlet is not live without testing it first.
Replacing an outlet is a simple but important upgrade that can improve your home's safety and modernize its electrical system. Following these steps will help you complete the job with confidence and professionalism.