Home Hardware Replacements Are An Economical Way To Update Your Space
Updating home hardware is one of the simplest and most cost-effective ways to enhance the look of your home and increase its value. By swapping out old, worn, or outdated hardware with fresh, modern pieces, you can give your home a quick facelift that appeals to potential buyers.
Materials Needed:
- Screwdriver set (flathead and Phillips)
- Measuring tape
- Level
- New hardware (knobs, handles, hinges, door stops, etc.)
- Wood filler (optional)
- Touch-up paint or stain (optional)
- Pencil
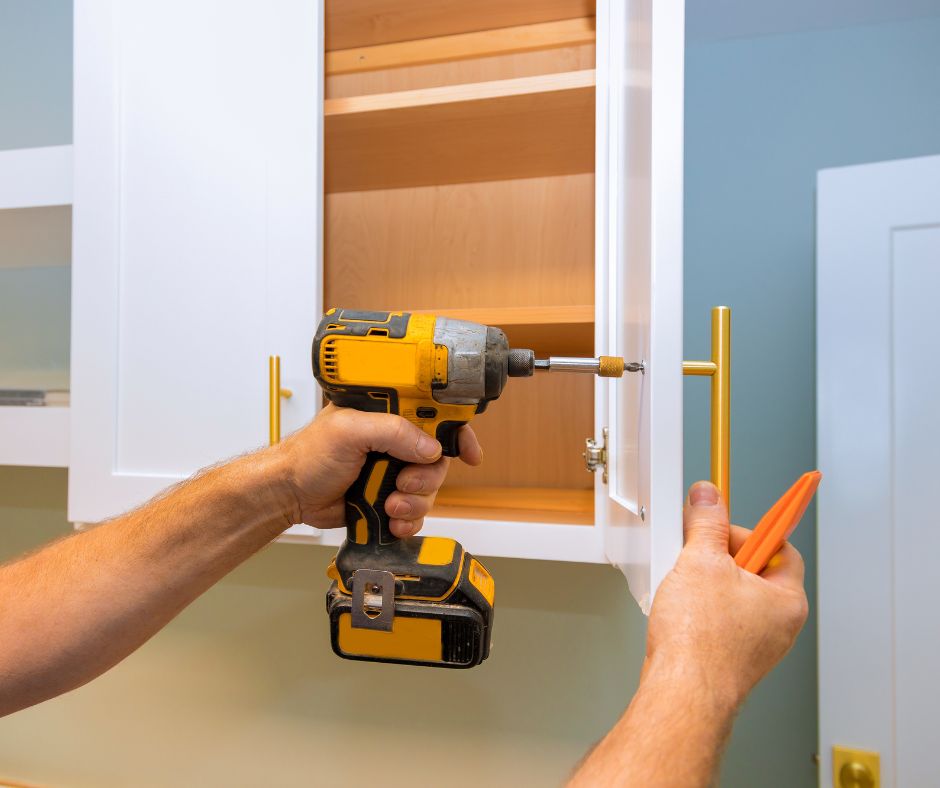
- Drill with appropriate bits
- Painter's tape
- Drop cloth (optional)
Step-by-Step Checklist
- Assess Your Current Hardware
- ☐ Walk through your home and identify the hardware that needs replacing.
- ☐ Make a list of items such as cabinet knobs, door handles, hinges, drawer pulls, and door stops.
- ☐ Measure existing hardware to ensure the new pieces will fit the existing holes, or plan to drill new ones.
- Choose New Hardware
- ☐ Select hardware that complements your home's style (e.g., modern, rustic, traditional).
- ☐ Opt for finishes that match or complement other fixtures in the home (e.g., faucets, light fixtures).
- ☐ Purchase enough hardware to replace all outdated pieces in your home.
- Prepare for Installation
- ☐ Lay out all tools and materials in your work area.
- ☐ Use a drop cloth to protect surfaces from scratches or damage during installation.
- ☐ If necessary, remove cabinet doors or drawers to make the installation process easier.
- Remove Old Hardware
- ☐ Unscrew existing knobs, handles, or pulls using the appropriate screwdriver.
- ☐ If removing hinges, support the door or cabinet while you work to prevent damage.
- ☐ Fill any old screw holes that won’t be reused with wood filler and allow to dry.
- Install New Hardware
- ☐ Align the new hardware with existing holes, or mark and drill new holes if needed.
- ☐ Use a level to ensure handles and pulls are straight before securing them in place.
- ☐ For hinges, attach one side to the door or cabinet, then the other side to the frame, checking for alignment.
- ☐ Screw in the new hardware securely, but avoid overtightening to prevent stripping the screws.
- Final Adjustments and Touch-Ups
- ☐ Test all hardware to ensure it functions smoothly.
- ☐ Make any necessary adjustments to hinges or handles for proper alignment.
- ☐ Touch up any nicks or scratches with paint or stain.
- ☐ Clean all surfaces to remove fingerprints or dust.
Tips for Success:
- Deal with Old Screw Holes: If your new hardware doesn’t align with the old holes, fill the holes with wood filler, let it dry, sand it smooth, and then repaint or stain before drilling new holes.
- Level Up: Use painter’s tape to mark the level line for installing multiple handles or knobs to ensure they’re perfectly aligned.
- Test Before Finalizing: Always double-check that doors and drawers open and close properly before tightening screws all the way.
- Match Finishes: For a cohesive look, make sure the hardware finish matches other elements in the room, like faucets, lighting, and even appliances.
- Quality Matters: While it might be tempting to go for the cheapest option, investing in quality hardware can make a significant difference in both appearance and longevity.
By following this guide, you'll give your home a fresh, updated look that can appeal to buyers and potentially increase your property value. Happy updating!