Tips To Painting Like A Pro
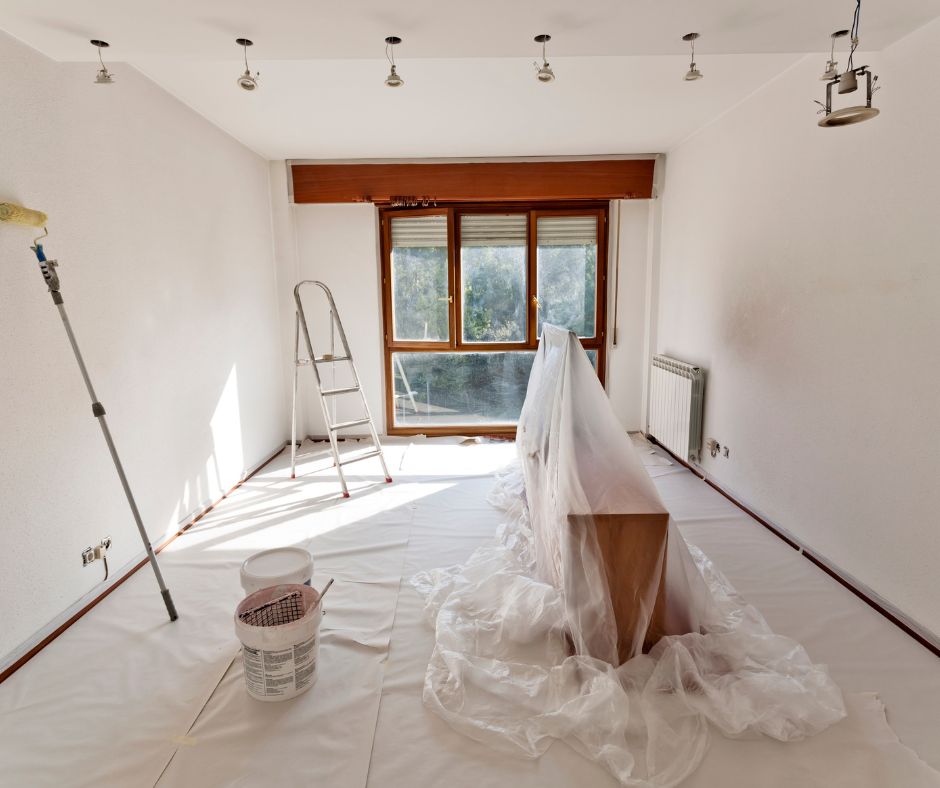
Painting a room like a pro requires careful preparation, attention to detail, and the right techniques. Here's a step-by-step guide to help you achieve a professional-looking paint job.
Tools and Materials You'll Need:
- Paint (latex or oil-based, as needed)
- Primer (if required)
- Paint roller and extension pole
- Paint tray and liner
- Paintbrushes (various sizes)
- Painter's tape
- Drop cloths or plastic sheeting
- Spackling compound
- Sandpaper (various grits)
- Screwdriver (for removing switch plates and outlet covers)
- Paint can opener
- Paint stir stick
- Painters' rags or paper towels
- Paint roller grid or screen (for loading rollers)
- Step ladder
- Putty knife (for scraping and patching)
- Dust mask and safety goggles
- Caulk and caulk gun (for sealing gaps)
- Sandpaper block or sponge
- Primer for walls (if needed)
- Ceiling paint (if painting the ceiling)
Step-by-Step Instructions:
1. Prepare the Room:
- Remove furniture or move it to the center of the room and cover it with drop cloths or plastic sheeting. Protect the floor with drop cloths as well.
2. Prepare the Walls:
- Patch any holes or cracks in the walls with spackling compound. Once dry, sand the patched areas smooth with fine-grit sandpaper. Wipe down the walls with a damp cloth to remove dust and let them dry.
3. Remove Switch Plates and Outlet Covers:
- Use a screwdriver to remove switch plates and outlet covers. It's easier to paint around them when they're not attached to the wall.
4. Apply Painter's Tape:
- Use painter's tape to mask off areas you don't want to paint, such as trim, baseboards, and ceilings. Make sure the tape is applied smoothly and firmly to prevent paint bleed.
5. Prime the Walls (if needed):
- If you're painting over a dark color, stains, or an unfinished surface, it's a good idea to apply a coat of primer. Allow it to dry completely before moving on.
6. Cut In with a Paintbrush:
- Start by "cutting in" or painting the edges and corners of the room with a paintbrush. This includes painting around trim, ceiling edges, and along the taped-off areas. Use a steady hand and take your time for clean lines.
7. Load the Roller:
- Pour paint into the paint tray and use a roller grid or screen to evenly load the roller with paint. Roll the roller up and down the tray to distribute the paint evenly.
8. Paint the Walls:
- Starting at the top of the wall, use the roller to apply paint in a "W" or "M" shape, then fill in the area between. Work in small sections, blending each section into the previous one to avoid visible seams. Apply a second coat if needed after the first coat dries.
9. Paint the Ceiling (if necessary):
- If you're painting the ceiling, use a roller on an extension pole to apply ceiling paint. Be cautious not to drip paint on the freshly painted walls.
10. Remove Painter's Tape: – Carefully remove the painter's tape while the paint is still slightly wet. This prevents the tape from pulling off dried paint.
11. Touch Up and Cleanup: – After the paint dries, inspect the walls for any missed spots or imperfections. Touch up as needed with a brush. Clean your brushes and rollers thoroughly with soap and water or the appropriate solvent.
12. Reattach Switch Plates and Outlet Covers: – Once the paint is completely dry, reattach switch plates and outlet covers.
By following these steps and taking your time, you can achieve a professional-looking paint job that will refresh the look of your room. The key is in the preparation, including patching and sanding, as well as the technique you use to apply the paint.
Tips
Painting drywall can yield professional results when done carefully. Here are some tips for painting drywall:
1. Prepare the Surface:
- Ensure the drywall surface is clean, dry, and free of dust, dirt, and debris. Repair any holes, cracks, or imperfections with spackling compound. Sand the patched areas until they are smooth, and then wipe away dust with a damp cloth.
2. Prime the Surface:
- Applying a coat of primer is crucial, especially if you're painting new drywall or covering stains. Primer helps the paint adhere better and provides an even surface for the paint to adhere to.
3. Choose the Right Paint:
- Opt for a high-quality paint that suits your needs. For most interior drywall painting, latex or water-based paints work well. Consider the finish (e.g., flat, eggshell, satin, or semi-gloss) based on your desired look and functionality.
4. Use Proper Tools:
- Invest in good-quality paintbrushes and rollers designed for the type of paint you're using. A high-quality roller cover can provide smoother results.
5. Cut-In First:
- Start by "cutting in" the edges and corners of the wall using a paintbrush. This involves painting a border around the edges to create a clean edge and make it easier to roll the main surface.
6. Roll Vertically:
- When using a roller, roll the paint on in a "W" or "M" pattern, then fill in the areas between. Roll vertically from top to bottom to ensure even coverage and minimize streaks.
7. Maintain a Wet Edge:
- Avoid letting the paint dry completely between sections. Work in manageable sections and maintain a wet edge by overlapping each pass slightly with the previous one.
8. Feather the Edges:
- Feather out the paint at the edges of each section to create a smooth transition and avoid lap marks. This involves lightly rolling over the edges without reloading the roller with paint.
9. Double-Cut the Corners:
- For crisp and clean corners, use a technique called "double-cutting." Apply a strip of painter's tape to one side of the corner, paint the adjacent wall, and then remove the tape before painting the other side of the corner.
10. Apply Multiple Coats: – In most cases, two coats of paint are necessary for full coverage and a professional finish. Allow the first coat to dry completely before applying the second coat.
11. Keep Consistent Lighting: – Paint under consistent lighting conditions to ensure that you can spot any missed spots, streaks, or imperfections.
12. Protect Adjacent Surfaces: – Use painter's tape and drop cloths to protect surfaces you don't want to paint, like trim, baseboards, and floors.
13. Clean as You Go: – Keep your tools and paint trays clean by periodically wiping them with a damp cloth. This helps prevent dried paint from contaminating your work.
14. Ventilate the Room: – Ensure adequate ventilation in the room when using paint. Open windows or doors and use fans to help with air circulation.
15. Allow Proper Drying Time: – Follow the manufacturer's instructions for drying times between coats. Rushing the process can lead to uneven coverage.
16. Inspect and Touch Up: – After the final coat dries, inspect the painted surface for any imperfections. Touch up areas as needed.
By following these tips and taking your time, you can achieve a professional-looking paint finish on your drywall. The key is in proper preparation, technique, and attention to detail.