Drywall Repair Can Be Easy
Fixing a crack in the wall is a common DIY home improvement task. Here's a step-by-step guide to help you repair small to medium-sized cracks in your wall.
Tools and Materials You'll Need:
- Safety Gear: Safety glasses, dust mask, and gloves.
- Putty Knife or Spatula: For scraping and applying compound.
- Mesh or Paper Tape: To reinforce the repair.
- Joint Compound (Mud): For patching the crack.
- Utility Knife or Razor Blade: For trimming tape and dried compound.
- Sandpaper: Fine-grit (120 to 220) for smoothing.
- Primer and Paint: To match your wall's finish.
- Drop Cloth or Plastic Sheeting: To protect your work area.
Step-by-Step Instructions:
1. Safety First:
- Put on safety glasses, gloves, and a dust mask to protect yourself from dust and debris.
2. Prepare the Area:
- Lay down a drop cloth or plastic sheeting to catch any mess. Remove any loose or peeling paint around the crack.
3. Clean the Crack:
- Use a utility knife or razor blade to remove any loose or damaged drywall or paint from the crack. Make sure the crack is clean and free of debris.
4. Apply Tape (Optional):
- For larger cracks, it's a good idea to apply mesh or paper tape. This reinforces the repair and helps prevent future cracking.
- Center the tape over the crack and press it into place.
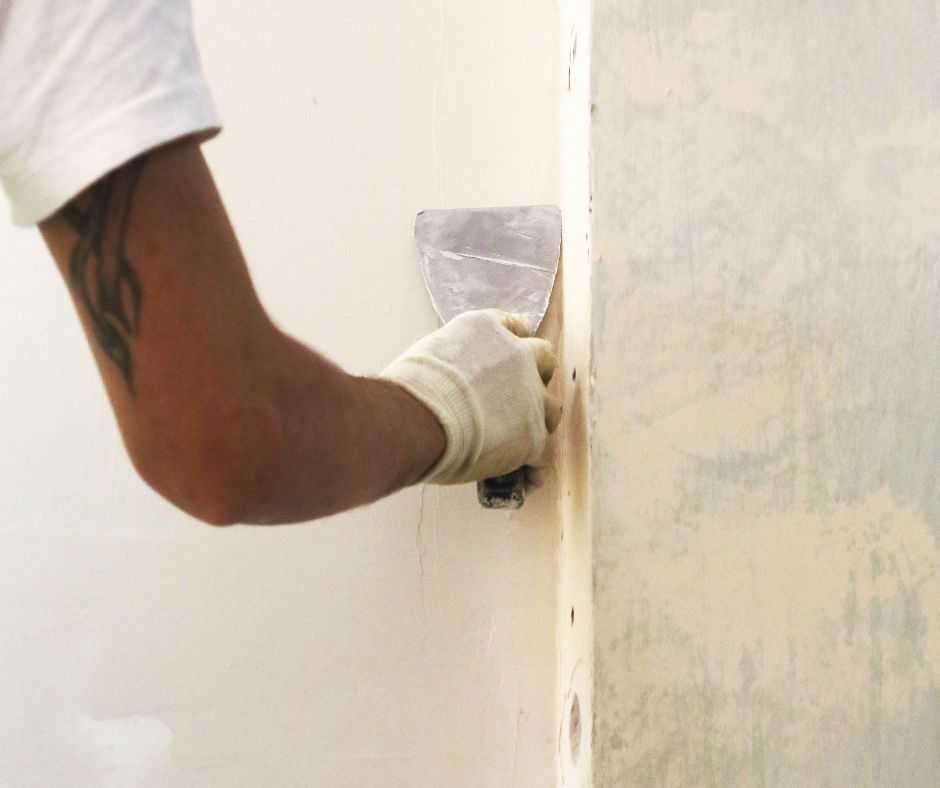
5. Apply Joint Compound:
- Use a putty knife or spatula to spread a thin layer of joint compound over the crack or the tape if you're using it.
- Ensure the compound covers the crack completely and is feathered out at the edges to blend with the surrounding wall.
6. Let It Dry:
- Allow the first coat of joint compound to dry according to the manufacturer's instructions. Typically, this takes 24 hours.
7. Sand the Surface:
- Once the first coat is dry, use fine-grit sandpaper to smooth the surface. Feather the edges so that the repair blends seamlessly with the wall.
8. Apply Additional Coats:
- You may need to apply two or three additional coats of joint compound, allowing each layer to dry and sanding between coats. This builds up the repair and ensures a smooth finish.
9. Prime and Paint:
- After the final coat is dry and smooth, prime the repaired area to ensure paint adheres evenly. Once the primer is dry, paint the entire wall, feathering the paint out to blend with the rest of the wall.
10. Clean Up:
- Remove the drop cloth or plastic sheeting, clean your tools, and dispose of any waste properly.
11. Inspect and Touch Up:
- After the paint has dried, inspect the repair to ensure it's seamless. If needed, touch up any imperfections with additional paint.
12. Prevent Future Cracks:
- Address the root cause of the crack, such as settling or moisture issues, to prevent future cracks.
This method is suitable for small to medium-sized cracks in drywall. For larger or structural cracks, it's advisable to consult a professional. Additionally, if you suspect a more serious issue like foundation problems, it's essential to address that before repairing the wall.
Tips
Fixing drywall is a common DIY home improvement task. Here are some tips to help you achieve a successful drywall repair:
1. Safety First:
- Always wear safety gear, including safety glasses, gloves, and a dust mask, when working with drywall.
2. Assess the Damage:
- Carefully examine the damage to determine its extent. Small holes, cracks, and dents are generally straightforward to repair, while larger or structural issues may require professional assistance.
3. Gather the Right Tools and Materials:
- Ensure you have all the necessary tools and materials, including joint compound, putty knife or trowel, sandpaper, utility knife, mesh or paper tape (for larger repairs), a mud pan, and primer and paint to match your wall's finish.
4. Prepare the Area:
- Lay down a drop cloth or plastic sheeting to catch any mess. Remove any loose or damaged drywall or paint around the damaged area.
5. Clean the Damage:
- Use a utility knife or razor blade to remove any loose or damaged drywall. Clean the damaged area of dust and debris, so the patch adheres properly.
6. Apply Primer (Optional):
- If you're repairing a bare patch of drywall, apply a primer to the area before adding joint compound. This helps ensure an even finish.
7. Use the Right Type of Joint Compound:
- For smaller holes and cracks, lightweight, all-purpose joint compound works well. For larger repairs or embedding tape, use setting-type joint compound that dries harder and is more durable.
8. For Holes and Cracks:
- Fill small holes and cracks with joint compound using a putty knife or trowel. Feather the edges to blend with the surrounding wall. Let it dry completely.
9. For Larger Repairs:
- For larger holes or damage, apply a piece of mesh or paper tape over the damaged area. Then, apply joint compound in multiple thin coats, letting each coat dry and sanding between coats. Feather the edges for a seamless finish.
10. Sand Smooth:
- After each coat of joint compound has dried, sand the repair area with fine-grit sandpaper to achieve a smooth finish. Wipe away dust before applying the next coat.
11. Prime and Paint:
- After the final coat is dry and smooth, prime the repaired area to ensure paint adheres evenly. Once the primer is dry, paint the entire wall, feathering the paint out to blend with the rest of the wall.
12. Clean Up:
- Remove the drop cloth or plastic sheeting, clean your tools, and dispose of any waste properly.
13. Inspect and Touch Up:
- After the paint has dried, inspect the repair to ensure it's seamless. If needed, touch up any imperfections with additional paint.
14. Prevent Future Damage:
- Address the root cause of the damage, such as moisture issues or repeated impact, to prevent future repairs.
15. Practice Patience:
- Allow ample drying time between coats of joint compound, and don't rush the process. Patience ensures a professional-looking repair.
Remember that drywall repair is a skill that improves with practice. Start with small repairs and gradually tackle more extensive ones as you gain confidence and experience. If you encounter a repair that seems beyond your skill level, consider consulting a professional drywaller or handyman for assistance.