Screens Are Meant To Be Functional & Unseen
Changing a window screen is a relatively simple DIY task. Here's a step-by-step guide on how to change a window screen.
Tools and Materials You'll Need:
- *New window screen with the correct dimensions
- Flathead screwdriver (optional)
- Utility knife or scissors
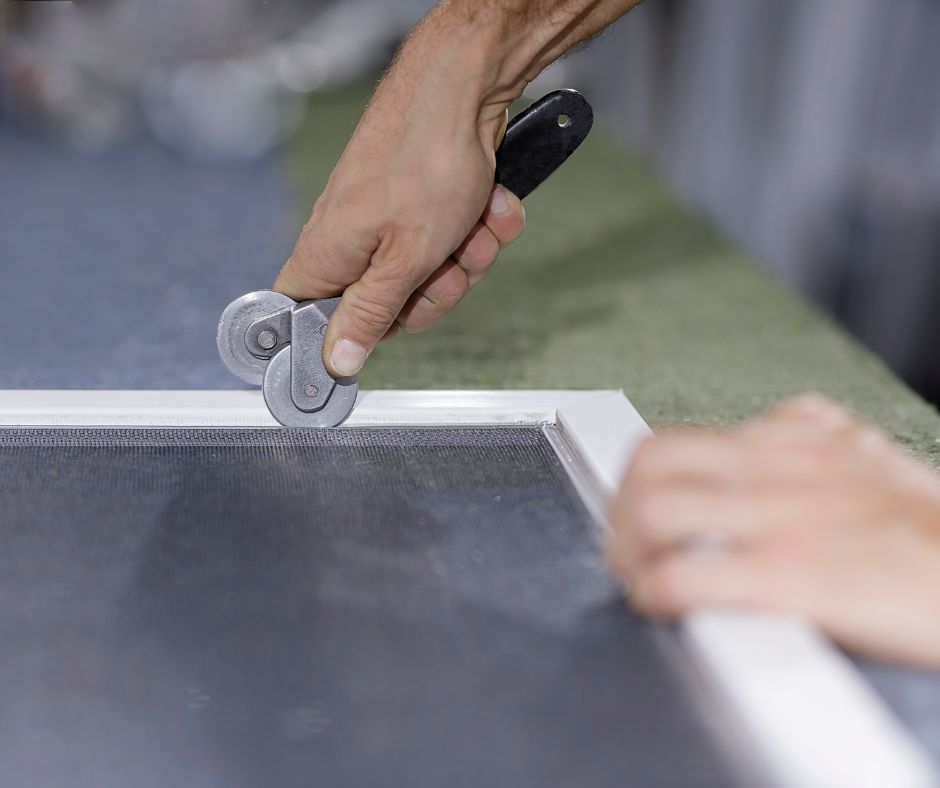
- Spline roller (screen installation tool)
- Spline (screen retainer cord)
- Measuring tape
- Small brush or cloth (for cleaning)
- Safety glasses (optional)
Step-by-Step Instructions:
1. Gather Supplies:
- Ensure you have all the necessary tools and materials.
2. Measure the Screen:
- Measure the dimensions of your old window screen, including the length and width, to ensure the replacement screen is the correct size.
3. Remove the Old Screen:
- If your window screen has a frame, use a flathead screwdriver or a spline roller to gently remove the old spline (the rubber or plastic cord that holds the screen in place).
- Once the spline is removed, carefully pull the old screen out of the frame. Dispose of it properly.
4. Clean the Frame:
- Before installing the new screen, clean the frame to remove any dirt or debris. A small brush or cloth can be helpful for this.
5. Cut the New Screen:
- Lay the new window screen flat on a clean, smooth surface. Place the old screen on top of it as a template.
- Use a utility knife or scissors to cut the new screen material to the same size as the old screen. Ensure it's a bit larger than the frame to allow for proper installation.
6. Install the New Screen:
- Lay the new screen material over the frame, ensuring it covers the entire opening.
- Starting at one corner, use a spline roller to press the spline into the groove around the frame. This secures the screen in place.
- Roll the spline all the way around the frame, pulling the screen taut as you go. Be sure to keep the screen centered within the frame.
7. Trim Excess Screen:
- Once you've secured the screen with the spline, use a utility knife or scissors to trim any excess screen material from around the frame. Be careful not to cut into the spline or the frame.
8. Reinstall the Screen:
- Carefully place the screen back into the window frame, ensuring it fits snugly.
9. Check for Proper Fit:
- Gently press on the screen to check that it's securely in place and that there are no wrinkles or sagging.
10. Reattach the Frame (if applicable):
- If your window screen has a removable frame, reattach it to the window frame. Make sure it's secure and properly aligned.
11. Inspect and Clean:
- Inspect the newly installed screen for any gaps or loose areas. Make any necessary adjustments.
- Finally, clean the screen with a mild detergent and water solution to remove any dirt or residue.
Changing a window screen is a practical DIY task that can improve the appearance of your windows and enhance ventilation. It's a relatively quick project that can be completed with basic tools and materials.