The Power of Photography in Selling Your Home
In today's digital world, where potential buyers often first encounter your home online, having high-quality photographs can make all the difference in selling it. Beautiful, well-composed images can capture the essence of your space, attract potential buyers, and even increase the perceived value of your home. For homeowners looking to sell, investing time and effort into photography could be a game-changer.
Setting the Stage: Preparing Your Home for the Perfect Photo
Before you snap any pictures, it's essential to set the stage by preparing your home for photography. A well-presented space will ensure that buyers focus on the beauty and potential of the home rather than distractions. Here's how to get your home picture-perfect:
1. Declutter for Clarity
When photographing your home, less is more. Clear away personal items such as family photos, excessive décor, or furniture that makes the space feel cramped. Buyers want to envision themselves living in the home, and a neutral, open space helps them do just that. Excess clutter can distract and overwhelm viewers, so aim to create a clean slate by removing items that don't contribute to the overall look.
2. Deep Clean for Shine
A spotless home translates to one that's been well cared for, which is essential in gaining the trust of potential buyers. Dust, vacuum, mop, and wipe down every surface to ensure it's as clean as possible. Clean windows will let in more light, and gleaming floors will reflect that light beautifully. Don’t forget about the small details—clean grout lines, streak-free mirrors, and shiny appliances all help showcase a home in its best light.
3. Stage with Elegance
Home staging is an art that can dramatically enhance the look of your space in photos. Arrange your furniture to highlight the best features of your home, whether it's a spacious living room or a cozy reading nook. Add a few well-placed accents like fresh flowers, stylish throw pillows, or modern art pieces to add warmth and personality. Keep the color palette neutral yet welcoming, ensuring nothing feels too personal or overwhelming.
Mastering Lighting Techniques
Lighting is the most critical aspect of real estate photography. It can either enhance the beauty of your home or wash it out entirely. Here's how to ensure your lighting is on point:
1. Utilizing Natural Light
Natural light is your best friend when it comes to home photography. The key is to capture photos during the "golden hours"—early morning or late afternoon—when the light is soft and diffused. This time of day avoids the harsh shadows and overexposure caused by the midday sun. Open up all your curtains and blinds to let in as much natural light as possible, and always shoot with the windows at your back to avoid silhouetted images.
2. Balancing with Artificial Light
While natural light is ideal, it's not always available or sufficient in every space. In rooms with fewer windows or during overcast weather, artificial lighting becomes necessary. Avoid direct, harsh overhead lighting, which can create unflattering shadows. Instead, use lamps and other diffused lighting sources to create a balanced and inviting atmosphere. A mix of warm and cool light can add depth and dimension to a photo, so don’t hesitate to experiment with different setups to see what works best.
Composition Tips: Showcasing Your Home’s Best Features
Taking a great photo goes beyond lighting and cleanliness—it’s about capturing your home’s character in a way that appeals to buyers. Composition, or the arrangement of elements in a photo, plays a significant role in highlighting your home’s best features.
1. The Rule of Thirds
One of the most well-known photography techniques is the rule of thirds. Imagine your frame is divided into a grid of nine equal parts, created by two vertical and two horizontal lines. Placing key elements of the room along these lines or at their intersections makes the photo more balanced and visually interesting. For example, position a stunning fireplace at one of these intersections or frame a gorgeous view from a window off-center.
2. Experiment with Angles and Perspectives
The perspective from which you shoot can change the entire feel of a room. Standing directly in front of a subject often flattens the image, while shooting from an angle adds depth and intrigue. Don’t hesitate to take multiple shots from different angles, especially in large or open spaces. A low angle, for instance, can make a room appear more expansive, while a higher angle may help showcase intricate details, such as a beautiful tile floor.
3. Show the Entire Room
When photographing interiors, your goal is to show as much of the space as possible. Wide-angle shots are ideal for this because they capture the entire room in a single frame, making it look larger and more inviting. However, avoid going too wide, as this can distort the image and create unrealistic proportions. Finding the right balance is crucial in ensuring your home looks appealing yet true to life.
Camera and Equipment Suggestions for Beginners
You don’t need to be a professional photographer or have an expensive camera setup to take great real estate photos. With the right entry-level equipment and techniques, you can achieve professional-looking results. Here’s what you’ll need:
1. Cameras for Beginners
For those new to photography, a DSLR or mirrorless camera is an excellent starting point. Both offer the manual control you need to adjust settings like aperture, shutter speed, and ISO, which are essential for getting great shots.
- Canon EOS Rebel T7: A popular choice for beginners, the Canon EOS Rebel T7 offers a good balance of price and performance. Its 24.1-megapixel sensor ensures sharp, high-quality images, while its intuitive interface makes it easy to use, even for those with little experience.
- Sony Alpha a6000: Another great option is the Sony Alpha a6000, a mirrorless camera known for its speed and portability. It’s compact yet powerful, with a 24.3-megapixel sensor and fast autofocus system, making it ideal for capturing real estate photos quickly and accurately.
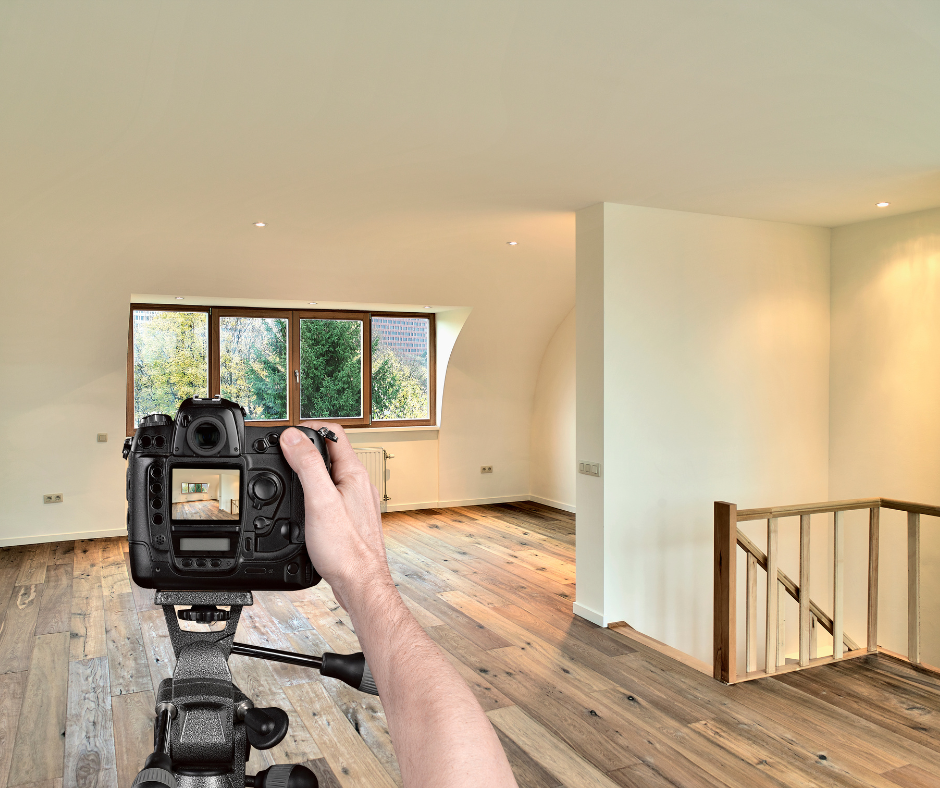
2. Tripods for Stability
A tripod is an essential tool for real estate photography. It stabilizes the camera, reducing the chance of blurry images due to shaky hands. It also allows you to use slower shutter speeds to capture more light in dimly lit rooms without sacrificing clarity. Look for a tripod that is sturdy yet lightweight, making it easy to move from room to room.
3. Lenses for Real Estate Photography
A wide-angle lens is your best bet for capturing real estate interiors. It allows you to fit more of the room into the frame, giving buyers a better sense of the space. For beginners, a 10-18mm lens is a good starting point. If your camera comes with a kit lens, such as an 18-55mm, it will also work, though it may not capture as wide of a shot.
4. Smartphone Photography
If investing in a camera isn't in your budget, don't worry! Many modern smartphones have excellent cameras that can take high-quality real estate photos. Use apps like Adobe Lightroom or Snapseed to edit your images for brightness, contrast, and sharpness.
Conclusion
In real estate, first impressions are everything, and high-quality photographs can be the key to making your home stand out in a crowded market. By preparing your home meticulously, mastering lighting techniques, composing your shots thoughtfully, and using the right equipment, you can capture images that showcase your home’s best features. These professional-looking photos will not only attract potential buyers but can also boost your home's perceived value, making your photography efforts well worth the time and investment.