Installing Wood Trim Doesn’t Need To Be Difficult
Installing wood trim, such as baseboards, crown molding, or window casings, can add a polished and finished look to your home. Here's a step-by-step guide on how to install wood trim.
Tools and Materials You'll Need:
- Wood trim (baseboards, crown molding, etc.)
- Miter saw or coping saw (for cutting angles)
- Measuring tape
- Pencil
- Level
- Caulk gun and caulk
- Finish nails or brad nails
- Hammer or nail gun
- Wood filler
- Sanding block or sandpaper
- Paint or finish (if desired)
Step-by-Step Instructions:
1. Measure and Cut the Trim:
- Measure the length needed for each piece of trim, and mark the trim accordingly with a pencil. Use a miter saw or coping saw to make precise angle cuts where necessary, such as inside corners for crown molding.
2. Dry-Fit the Trim:
- Before attaching the trim, dry-fit it in place to ensure it fits correctly and that any mitered corners meet properly. Make any necessary adjustments to the trim.
3. Clean and Prep the Surface:
- Ensure the surface where you'll be installing the trim is clean and free of dust or debris. If necessary, paint or finish the trim before installation for ease of application and to avoid touching up the walls later.
4. Apply Caulk (Optional):
- If you plan to caulk the gaps between the wall and trim for a seamless look, apply a thin bead of caulk along the back of the trim where it will contact the wall. Make sure to smooth the caulk line with a wet finger.
5. Start with Inside Corners:
- Begin with inside corners, as they can be the most challenging. Align the trim with the edge of the wall and nail it in place using finish nails or a nail gun. Make sure the trim is level and flush with the wall.
6. Install Baseboards:
- When installing baseboards, align them with the floor, not the wall. Nail them to the wall studs to ensure a secure fit. Use a level to check for plumb.
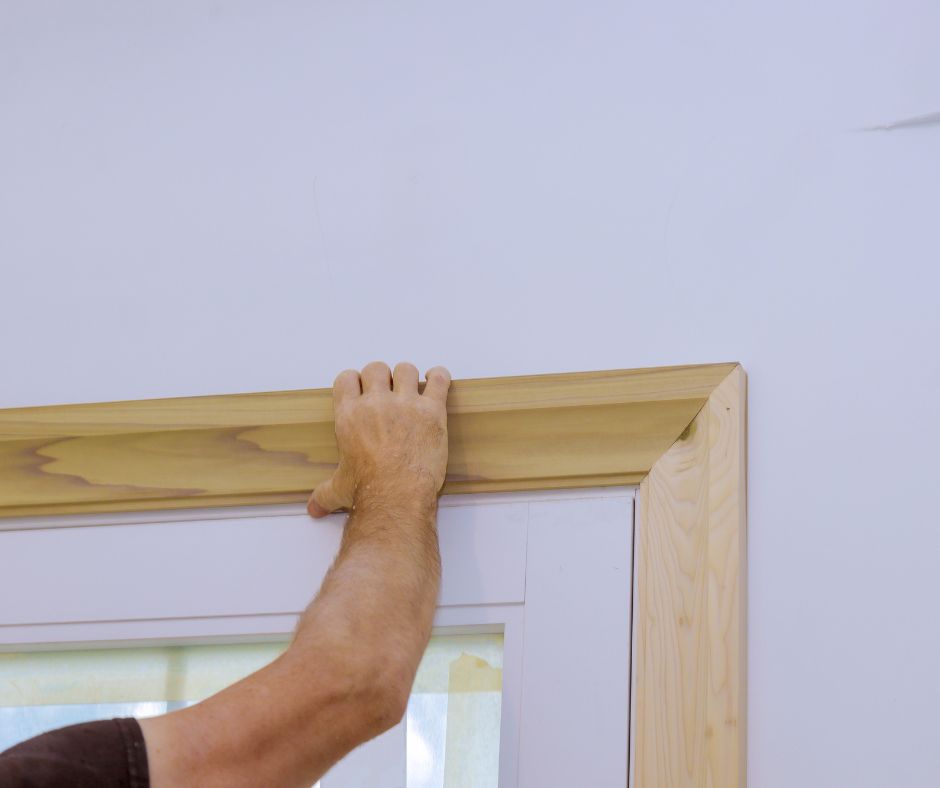
7. Install Window and Door Casings:
- Window and door casings should frame the opening evenly. Use shims if necessary to ensure a proper fit. Nail them in place around the perimeter of the opening.
8. Install Crown Molding:
- Crown molding typically requires mitered cuts at inside and outside corners. Use a miter saw to cut precise angles. Nail the crown molding into the wall and ceiling, making sure it aligns properly.
9. Nail Spacing:
- Space nails or brad nails evenly along the length of the trim, usually every 12-18 inches. Sink the nails slightly below the surface of the wood.
10. Fill Nail Holes: – Fill any nail holes or gaps with wood filler. Allow it to dry, then sand the surface smooth.
11. Finish the Trim (Optional): – If you didn't finish the trim before installation, apply paint or finish as desired. Ensure it complements your room's decor.
12. Clean Up: – Remove any caulk or paint splatters on the walls or floor using a damp cloth or scraper.
13. Inspect and Touch Up: – Carefully inspect the installed trim for any gaps, unevenness, or imperfections. Make any necessary touch-ups or adjustments.
Installing wood trim can be a satisfying DIY project that enhances your home's aesthetic appeal. Take your time to measure and cut accurately, and pay attention to detail for a professional finish. If you're unsure about any step, consult instructional guides or consider seeking advice from a professional carpenter or contractor.